Introduction to AUD/USD Analysis 🇦🇺🇺🇸
The AUD/USD currency pair, known as the "Aussie," represents one of the most actively traded commodity currencies in the forex market, with the Australian Dollar closely tied to global commodity prices and risk sentiment. 🏄♂️ Trading this pair during the Tokyo session offers unique opportunities for precision entries using advanced institutional strategies. 💎
Today's analysis focuses on the Liquidity Sweep Reversal (LSR) strategy - a sophisticated approach that capitalizes on institutional liquidity manipulation before major price reversals. This methodology allows professional traders to position themselves alongside smart money flow for optimal profit potential. 🎯
Understanding Liquidity Sweep Reversal (LSR) 🌊
The Liquidity Sweep Reversal (LSR) is an advanced trading concept that identifies moments when institutional players deliberately push price beyond key levels to trigger retail stop losses, creating liquidity pools before reversing direction. This "stop hunt" behavior is a hallmark of professional market manipulation. 🏦
🔑 LSR Strategy Components:
- 🎯 Liquidity Zones: Areas where retail traders place stop losses (equal highs/lows)
- ⚡ Sweep Action: Price briefly moves beyond these levels to trigger stops
- 🔄 Reversal Signal: Immediate rejection and move in opposite direction
- 📊 Volume Confirmation: Increased volume during the sweep and reversal
- ⏰ Session Timing: Most effective during low-volatility sessions like Tokyo
During the Tokyo session, AUD/USD exhibits more predictable behavior due to lower volatility, making LSR setups easier to identify and execute. The reduced noise allows traders to spot genuine institutional manipulation more clearly. 🌅
Strategy Implementation & Tokyo Session ⏰
🌅 Tokyo Session Advantages
📉 Lower Volatility
Time: 00:00 - 09:00 GMT
Benefit: Cleaner price action, precise entries
🎯 Institutional Activity
Focus: Asian banks positioning
Opportunity: Liquidity sweeps before major moves
🔍 LSR Implementation Steps
- Market Structure Analysis: Identify key highs/lows on H4 timeframe
- Liquidity Mapping: Mark areas where stops likely cluster
- Sweep Confirmation: Wait for price to breach and immediately reject
- Entry Execution: Enter on M15 retest of swept level
- Risk Management: Place stops beyond sweep high with tight risk
📈 Live Trading Setup Analysis
💱AUD/USD Pair Selection Interface
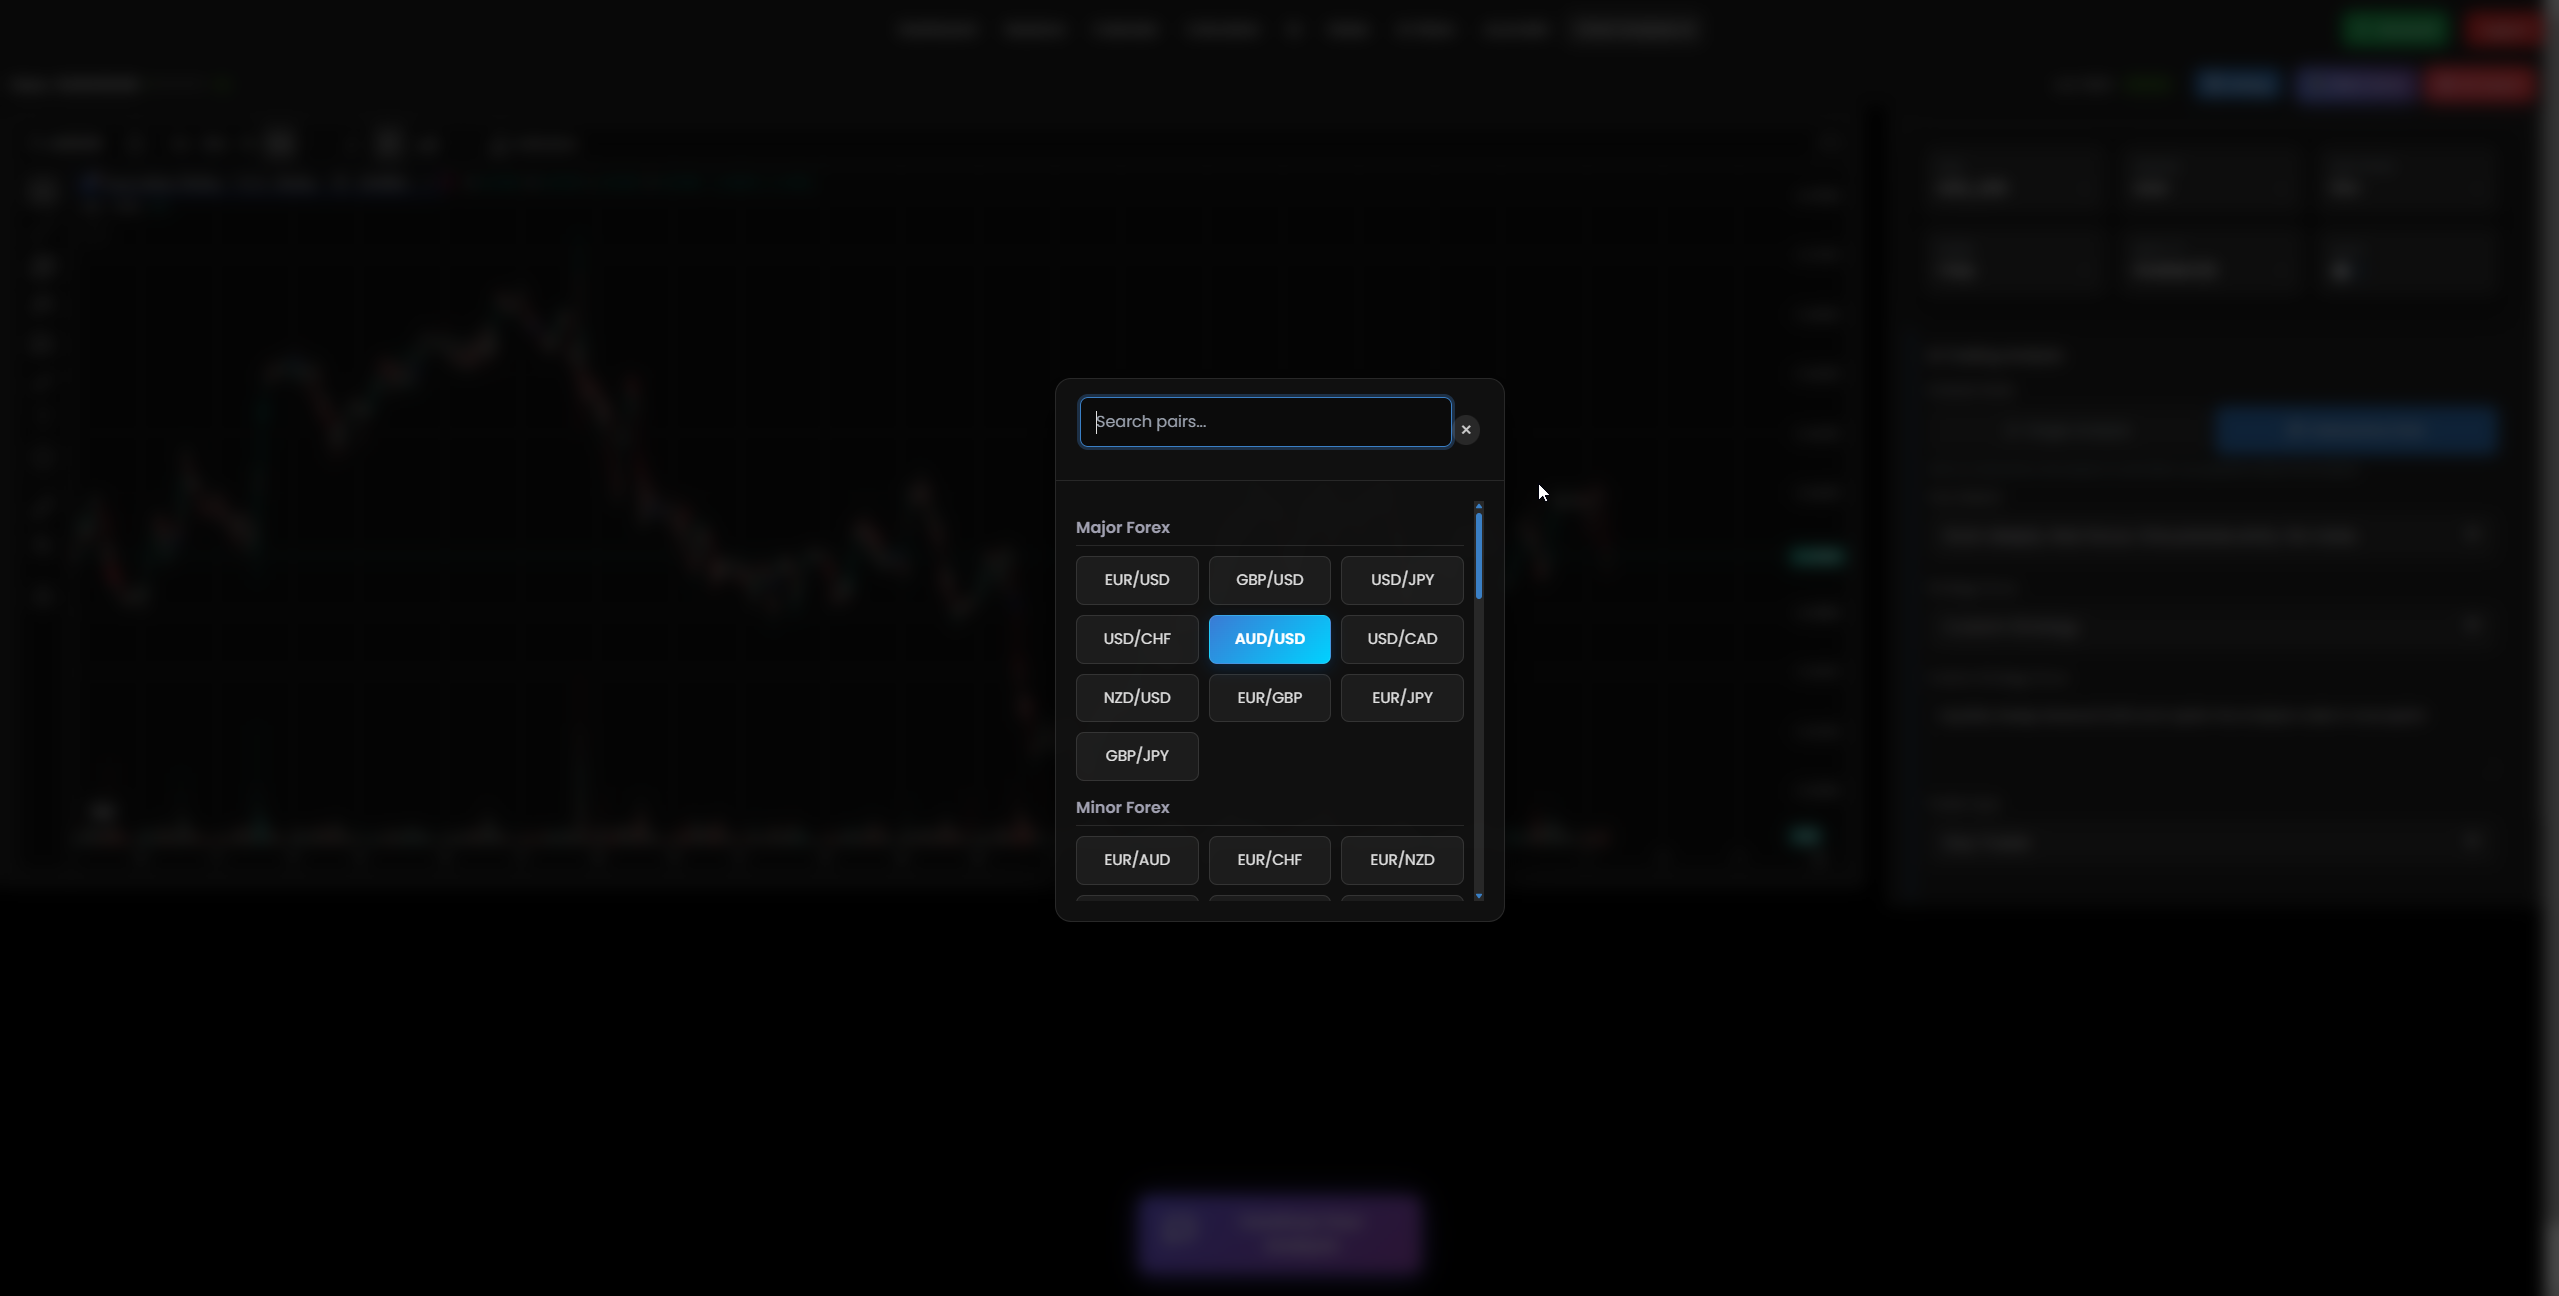
Professional trading interface showing AUD/USD pair selection for Liquidity Sweep Reversal analysis during Tokyo session
⏰Multi-Timeframe Analysis Setup
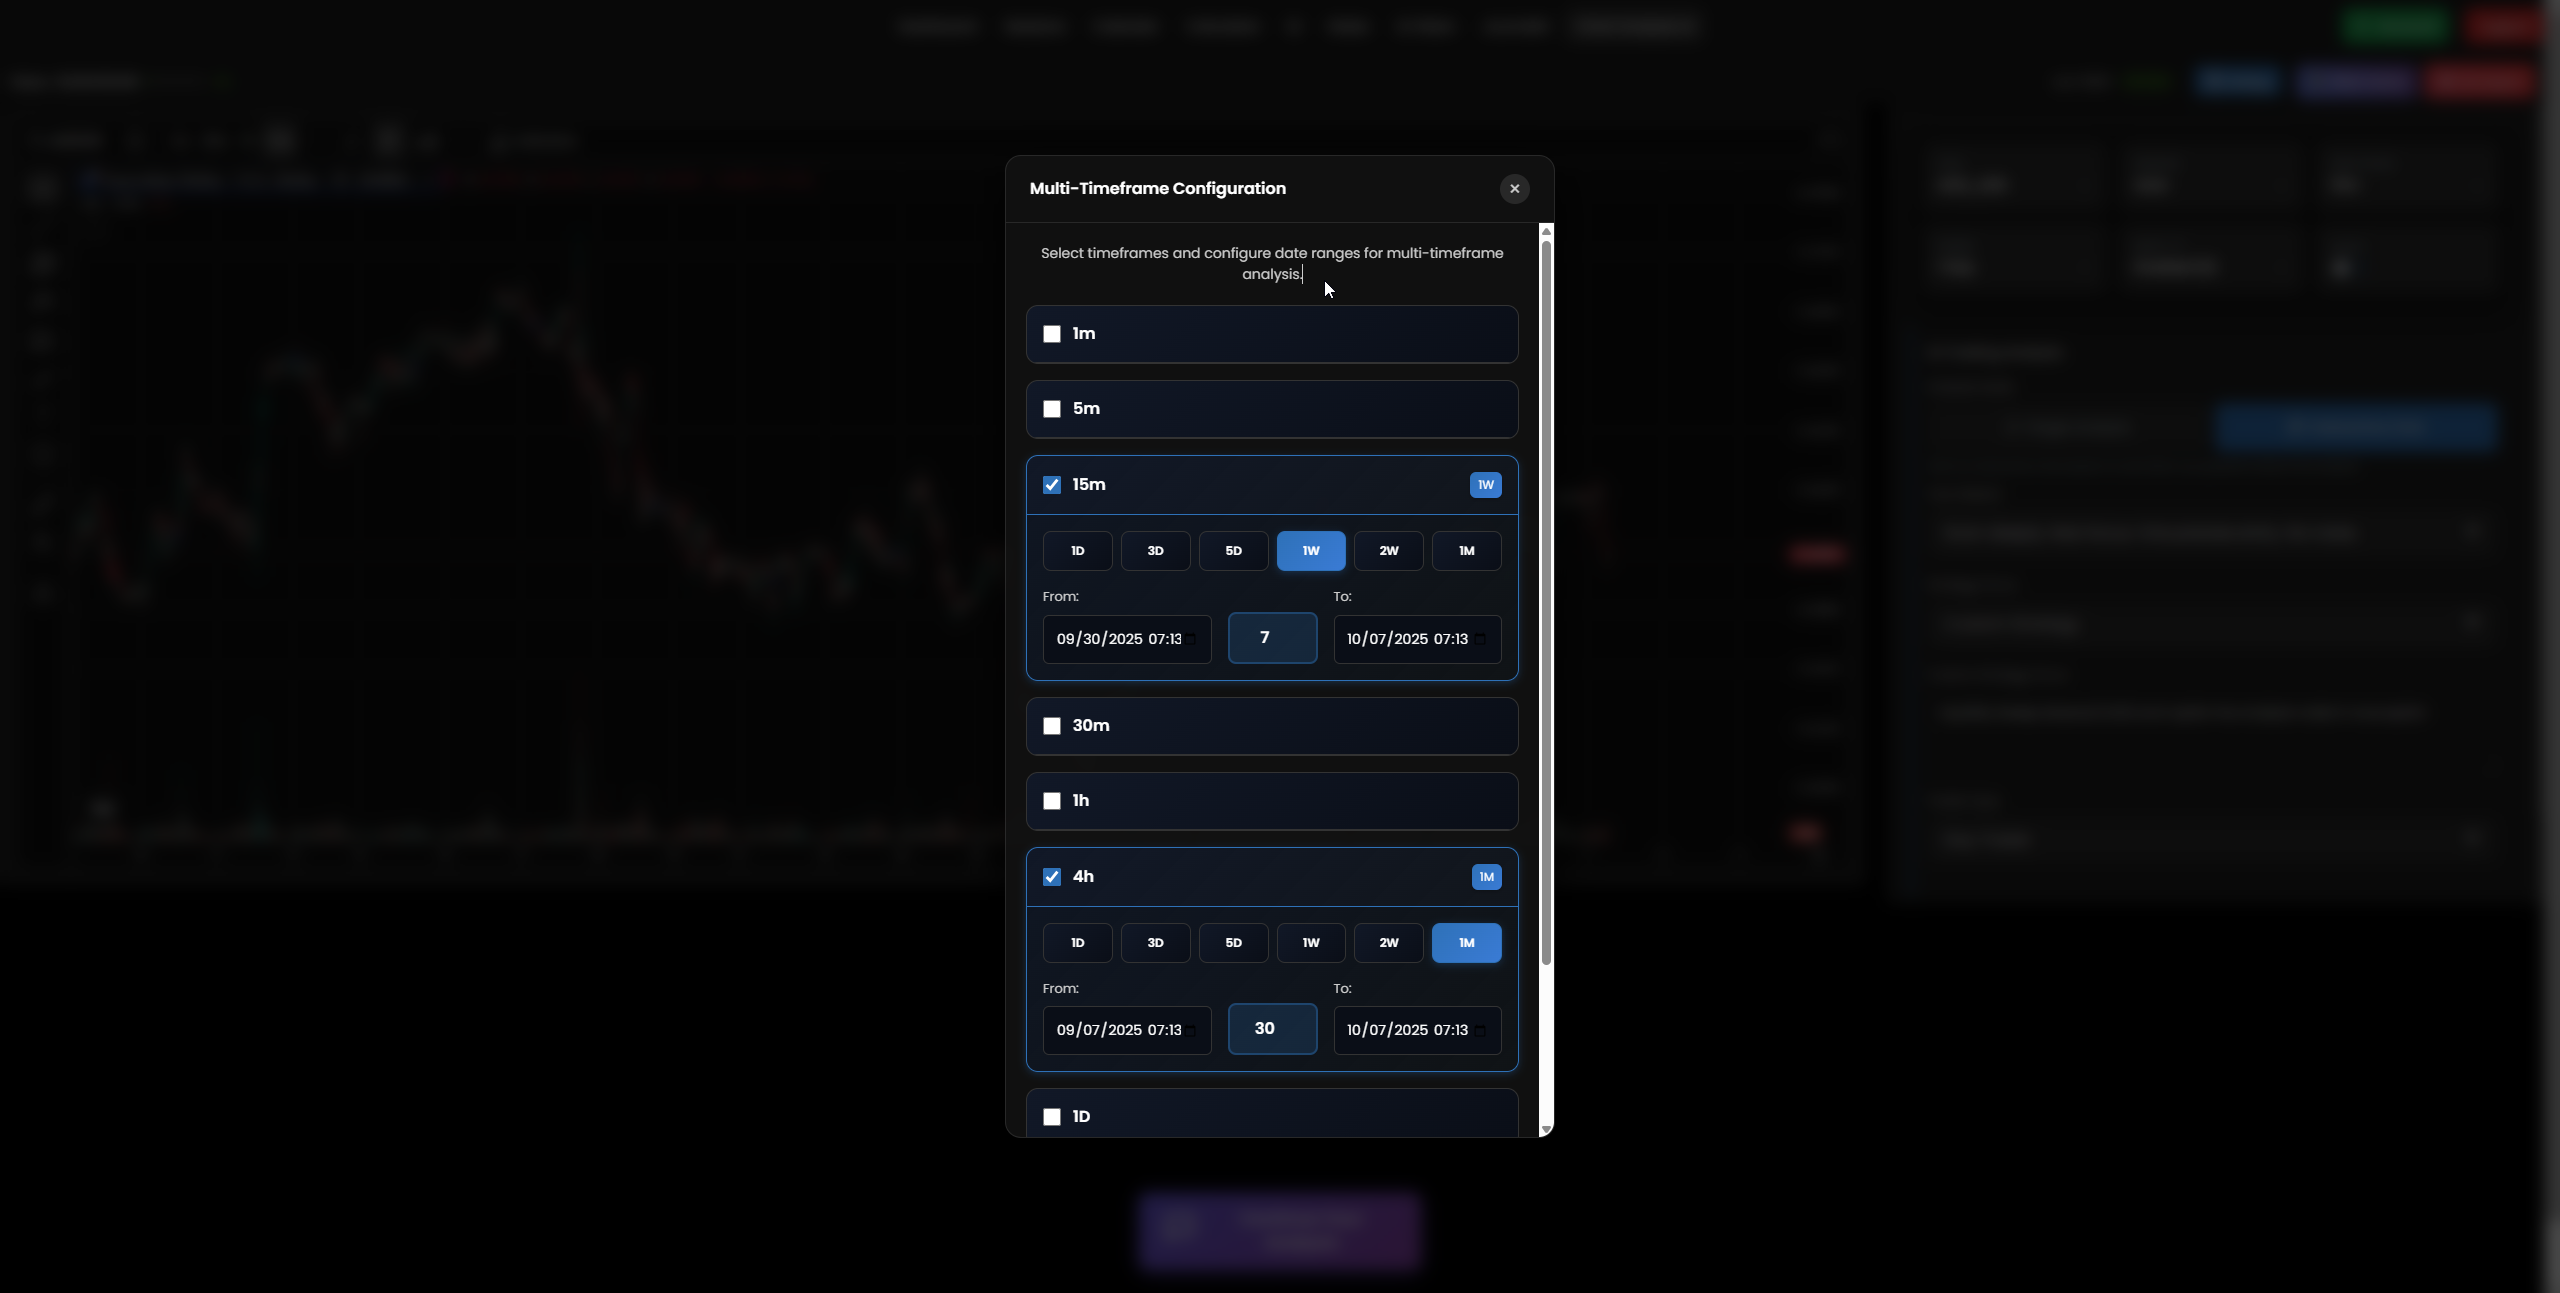
M15 timeframe configuration for precise LSR entry timing and Tokyo session analysis
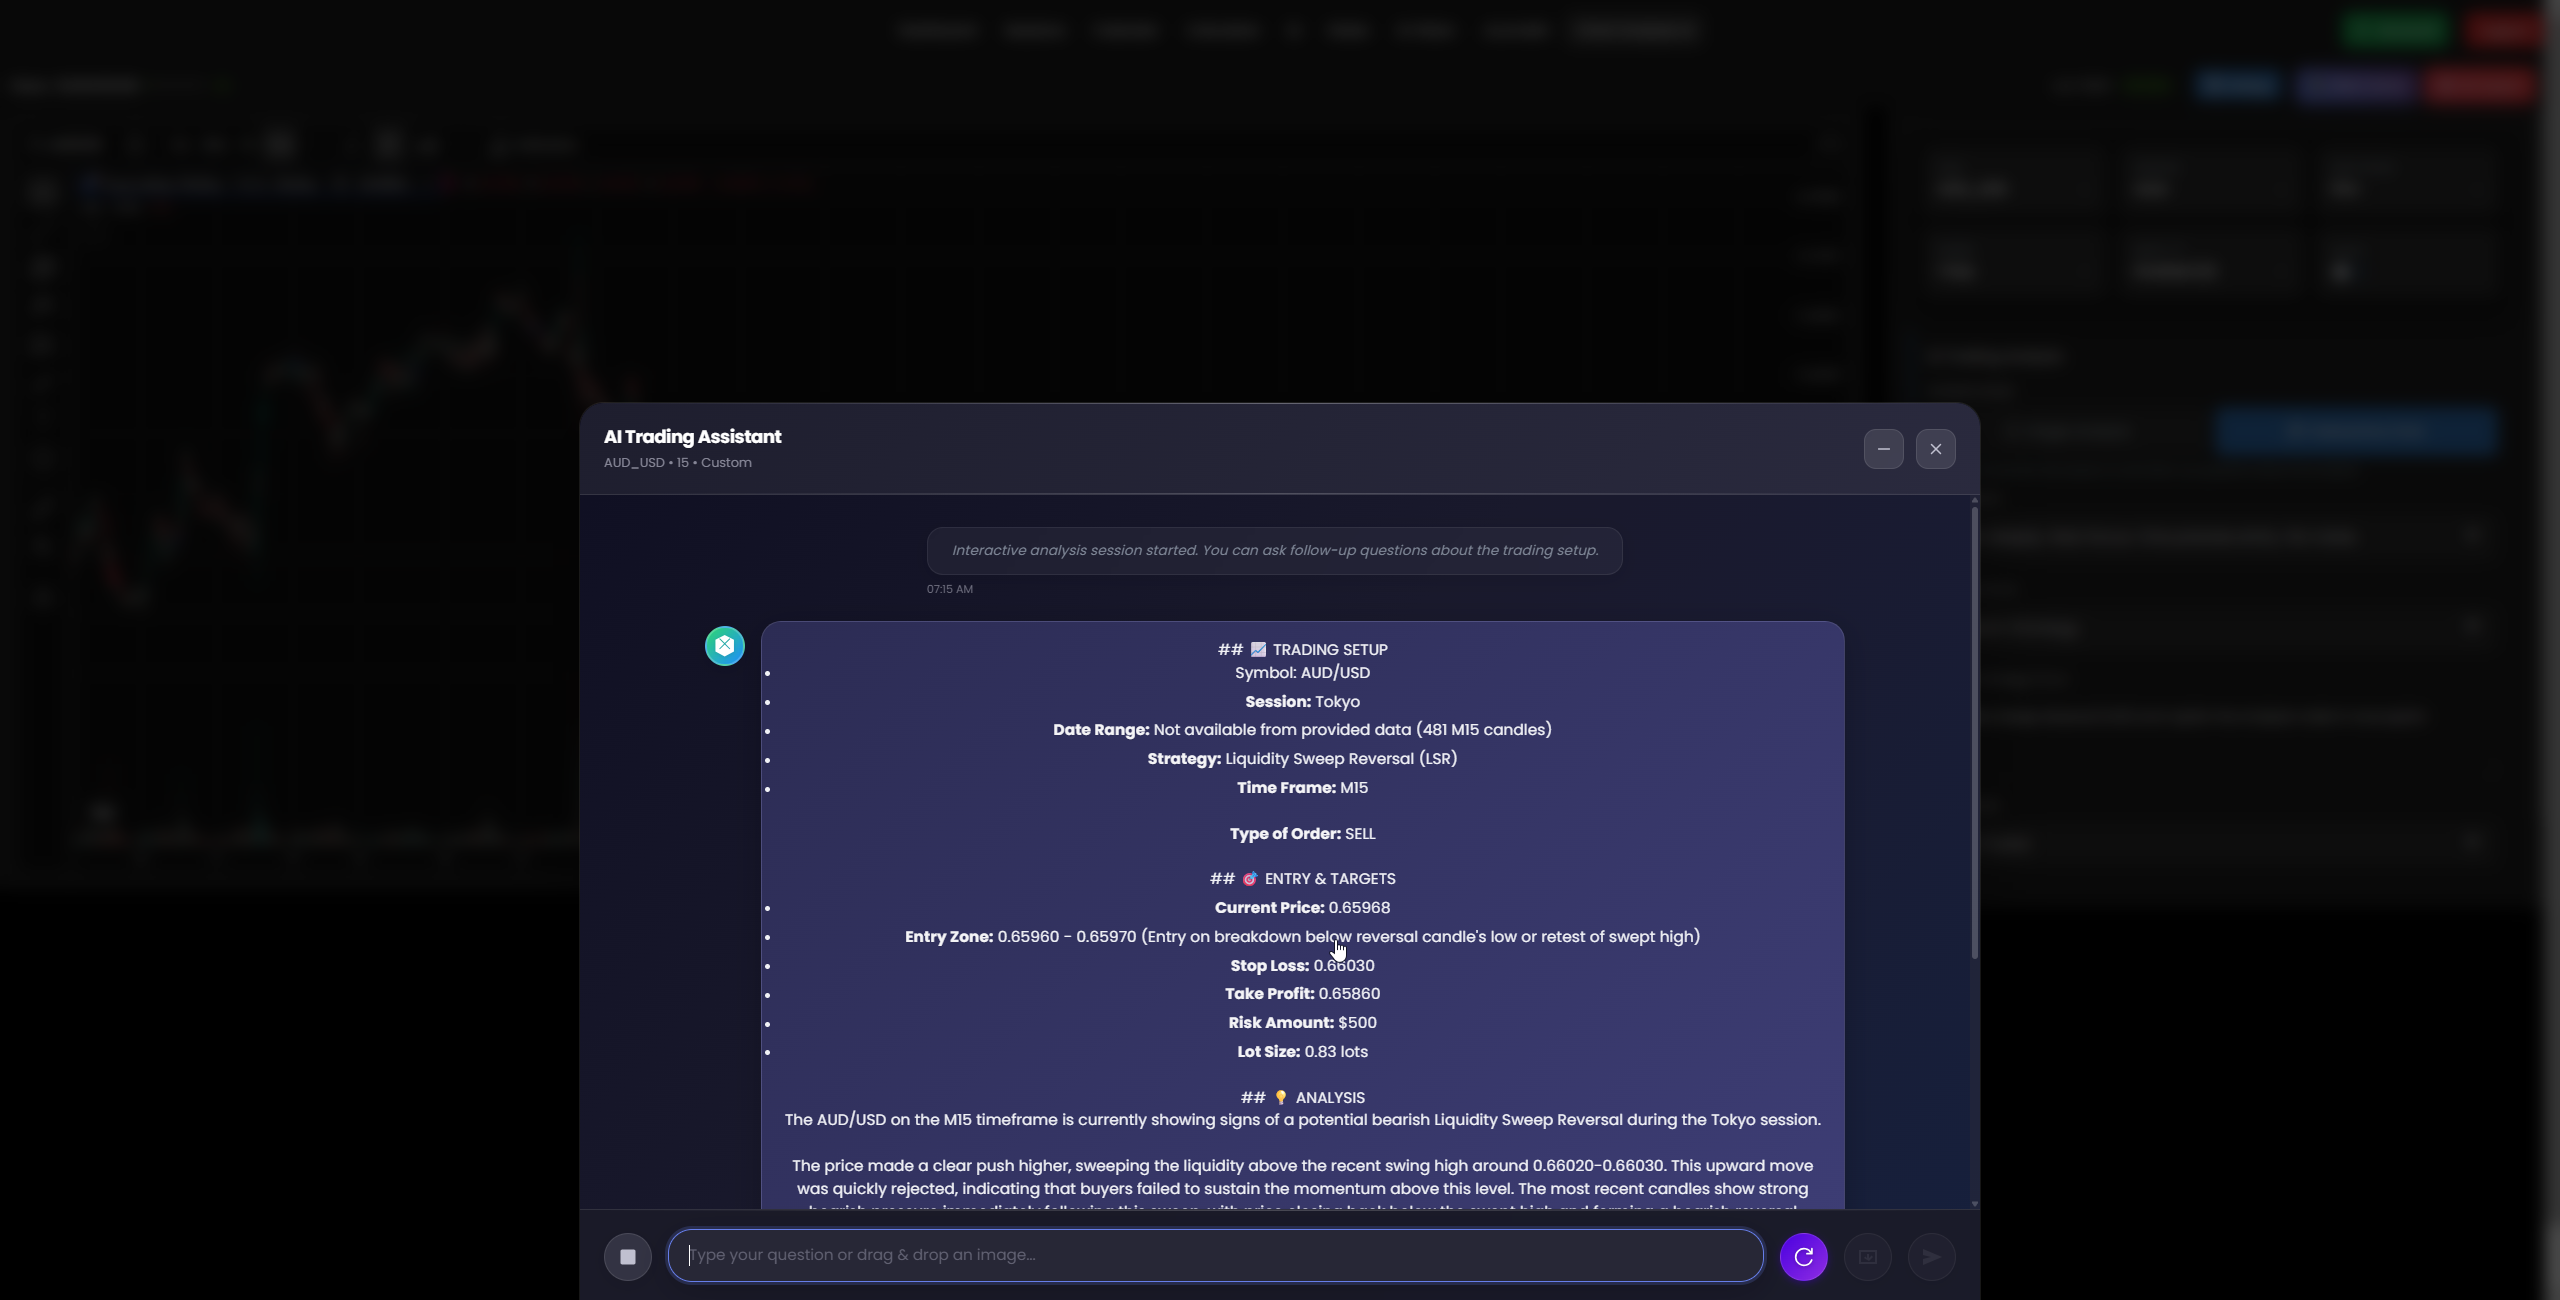
📊TRADING SETUP
🎯ENTRY & TARGETS
📈Trading Results Interface
Real-time trading results showing LSR strategy performance and execution metrics
🤖AI Tools Demonstration Video
🎥 Watch how our AI analyzes the AUD/USD LSR setup in real-time with advanced market intelligence
💡 Comprehensive Market Analysis
The AUD/USD pair on the M15 timeframe is presenting a textbook Liquidity Sweep Reversal (LSR) setup during the Tokyo session, offering traders a high-probability bearish opportunity. As a professional trader with years of experience in the forex markets, I can confidently say that this setup exemplifies the beauty of institutional trading concepts applied to retail trading. 🎯
🔍Market Structure Analysis
The current market structure reveals a classic liquidity sweep scenario where price has aggressively pushed higher to sweep the buy-side liquidity resting above the recent swing high around the 0.66020-0.66030 level. This upward move wasn't driven by genuine buying interest but rather by algorithmic orders designed to trigger stop losses and pending buy orders from retail traders who positioned themselves above obvious resistance levels. 📊
What makes this setup particularly compelling is the immediate rejection that followed the liquidity sweep. The market didn't hesitate or consolidate at these higher levels – instead, it showed clear signs of exhaustion and began its descent almost immediately. This behavior is characteristic of institutional money taking advantage of the liquidity provided by retail traders' stop losses. 🏦
⚡Price Action Dynamics
The price action leading up to this LSR setup shows several key characteristics that professional traders look for. First, we observed a series of higher highs and higher lows, creating an apparent uptrend that attracted retail buyers. However, the volume and momentum behind these moves were questionable, suggesting that smart money was preparing for a reversal. 📈
The most recent candles display strong bearish pressure immediately following the liquidity sweep, with price closing well below the swept high and forming a clear bearish engulfing pattern. This rapid shift in sentiment indicates that sellers have gained control and are likely to push prices lower toward our target area. The strength of this reversal candle, combined with its position relative to the swept liquidity, provides us with high confidence in the bearish bias. 🐻
🎯Strategic Entry Positioning
Our entry strategy is positioned to capitalize on this institutional behavior by entering the market as close to the reversal point as possible. The entry zone of 0.65960 - 0.65970 represents the optimal balance between risk and reward, allowing us to enter on either a breakdown below the reversal candle's low or on a potential retest of the swept high that fails to hold. 🎪
This positioning is crucial because it places us on the same side as the institutional money that just swept the liquidity. We're essentially following the smart money's lead, which historically provides better probability setups than trying to fight against institutional flow. The beauty of the LSR strategy lies in its ability to identify these moments where retail sentiment and institutional action diverge. 💪
🛡️Risk Management Framework
The stop loss placement at 0.66030 is strategically positioned above the high of the liquidity sweep, providing us with a clear invalidation level. If price manages to break back above this level and hold, it would suggest that our analysis was incorrect and that buyers are still in control. This level represents the point where we admit we were wrong and exit the trade to preserve capital. 🚨
With a risk amount of $500 and a lot size of 0.83, we're maintaining proper position sizing that aligns with sound risk management principles. This represents a manageable risk that won't significantly impact our trading account even if the trade moves against us. Remember, preservation of capital is paramount in professional trading. 💰
🏆Profit Target Rationale
The take profit target at 0.65860 represents a logical support level based on previous price action and market structure. This level has shown significance in the past and is likely to attract buying interest, making it a reasonable target for our bearish move. The risk-to-reward ratio of this setup is favorable, offering us the potential for a profitable trade while maintaining strict risk controls. 📊
What's particularly attractive about this target is that it aligns with the concept of targeting the next significant liquidity pool below current price. Just as we identified the swept liquidity above, there's likely resting sell-side liquidity below that institutional players will want to target next. 🎯
🌏Tokyo Session Context
The timing of this setup during the Tokyo session adds another layer of confluence to our analysis. The Tokyo session is known for its more methodical price movements and is often where institutional players position themselves for the more volatile London and New York sessions. LSR setups during Tokyo often have good follow-through because they're not clouded by the noise and volatility of the major sessions. 🌅
Additionally, AUD/USD tends to show good movement during Asian hours due to Australia's geographic proximity and economic ties to the Asian markets. This timing factor increases the probability that our setup will play out as expected, as we're trading in harmony with the natural flow of the currency pair during its most active regional session. 🌏
🛡️ Risk Management & Trading Psychology
🧠 Professional Trading Mindset
Remember, even the highest quality setups carry inherent risk. As professional traders, we must always prioritize our mental and emotional well-being over any single trade. The market will always be there tomorrow, but your capital and psychological state are finite resources that must be protected. 🧘♂️
Stay disciplined in your approach, follow your predetermined plan, and never risk more than you can comfortably lose. Each trade, whether profitable or not, is a valuable learning opportunity that contributes to your growth as a trader. Embrace the uncertainty that comes with trading, manage your emotions effectively, and let your well-tested strategy guide your decisions. 📊✨
The LSR strategy is powerful, but it's not infallible. Always combine technical analysis with proper risk management, and remember that consistency over time is more valuable than any single spectacular trade. Trade smart, trade safe, and trade with purpose. 🎯💪
💡 Key Risk Factors
- • Market News: Unexpected economic releases can invalidate technical setups
- • Session Overlap: Increased volatility during London open
- • Liquidity Gaps: Weekend gaps or holiday trading conditions
- • Correlation Risk: AUD sensitivity to commodity prices and risk sentiment
✅ Risk Mitigation Strategies
- • Position Sizing: Never risk more than 1-2% per trade
- • Stop Loss Discipline: Honor your stops without exception
- • Market Awareness: Check economic calendar before trading
- • Emotional Control: Take breaks after consecutive losses
🎯 Conclusion & Key Takeaways
📋 Trading Summary
Setup Strengths:
- ✅ Clear liquidity sweep identification
- ✅ Immediate price rejection confirmation
- ✅ Optimal Tokyo session timing
- ✅ Favorable risk-to-reward ratio
- ✅ Strong institutional flow alignment
Key Learning Points:
- 🎓 LSR strategy effectiveness in low volatility
- 🎓 Importance of session-specific behavior
- 🎓 Smart money vs retail trader positioning
- 🎓 Risk management paramount importance
- 🎓 Patience in waiting for quality setups
This AUD/USD LSR analysis demonstrates the power of combining institutional trading concepts with disciplined execution during optimal market conditions. The Tokyo session provides the perfect environment for these setups, offering reduced noise and cleaner price action that allows for precise entry and exit timing. 🌅
As we continue to develop our trading skills, remember that consistency comes from following a proven methodology rather than chasing every market move. The LSR strategy, when applied correctly during appropriate market conditions, provides a systematic approach to capturing institutional money flow while maintaining strict risk controls. 📈
🚀 Continue Your Trading Journey
Master the art of professional trading with our comprehensive analysis and AI-powered insights. Every setup is an opportunity to learn and grow as a trader.
📚 Explore More Analysis